Getting Started with the Inventory Feature
Take a deep dive into the new Inventory feature.
Getting Started With the New Inventory Feature
How To: Access the New Inventory Feature
Administrators who previously had access to the “Tasks, Parts, Packages” item on the Admin menu will now see that replaced by separate “Inventory” and “Tasks & Packages” items:
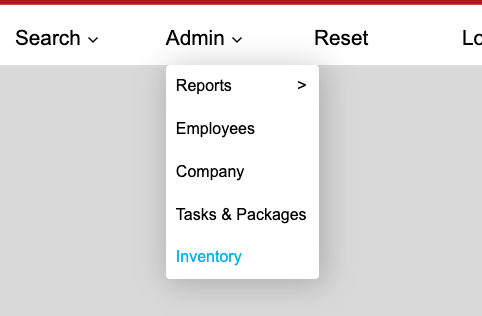
“Tasks & Packages” will open the same feature that has the “Job Wall” and “Package Wall”, but Inventory has moved to the new Admin menu.
When Inventory is selected from the Admin menu, the full inventory will be displayed in a table as shown below:
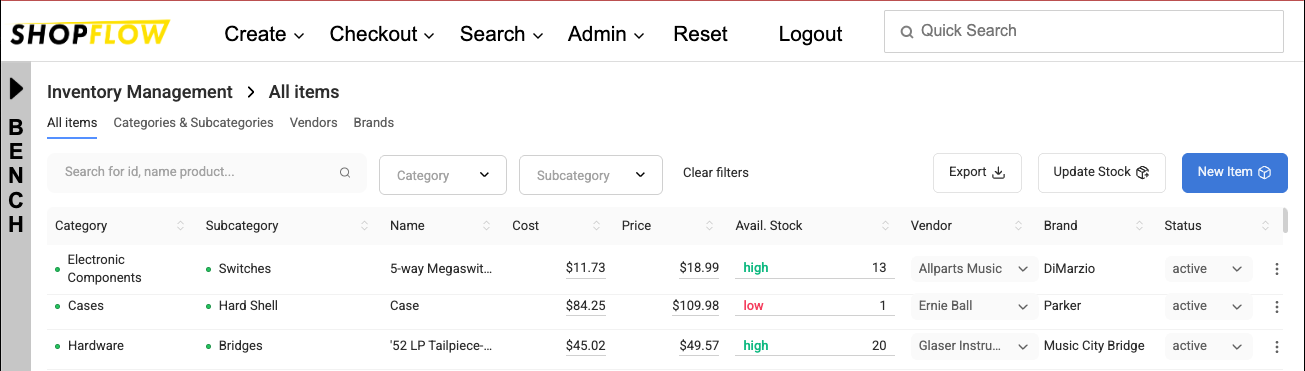
This table can be filtered, sorted, and searched. Some fields can be edited directly in the table - e.g. the available stock quantity. Items can be clicked on to access their full properties and history.
How To: Add an Item to Inventory
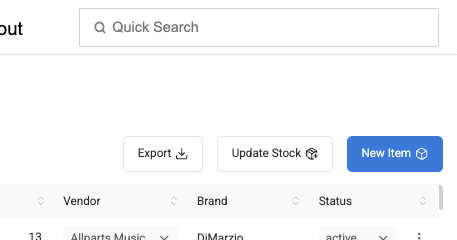
Click the “New Item” button on the main inventory page:
The “Add New Item” panel will appear on the right side of the screen:
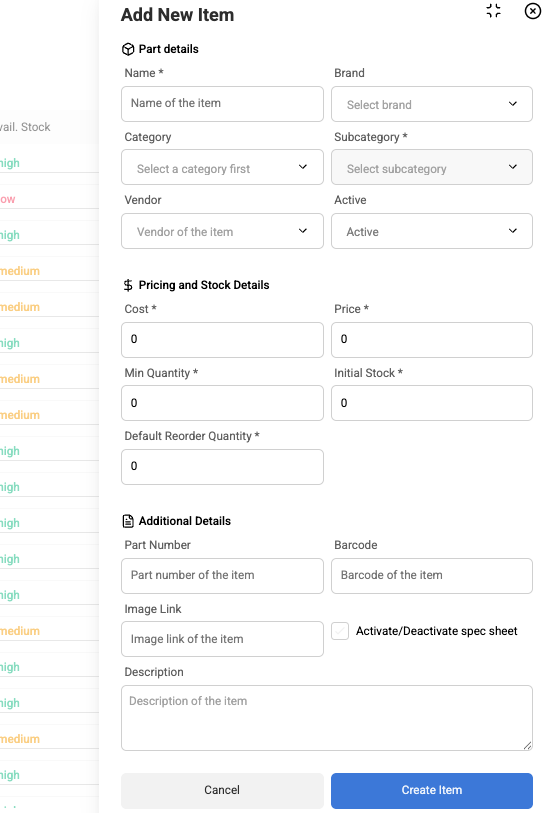
Fill out the form and click the “Create Item” button to add the item to inventory.
How To: Edit an Inventory Item
Click an item from the inventory table to see its full details.
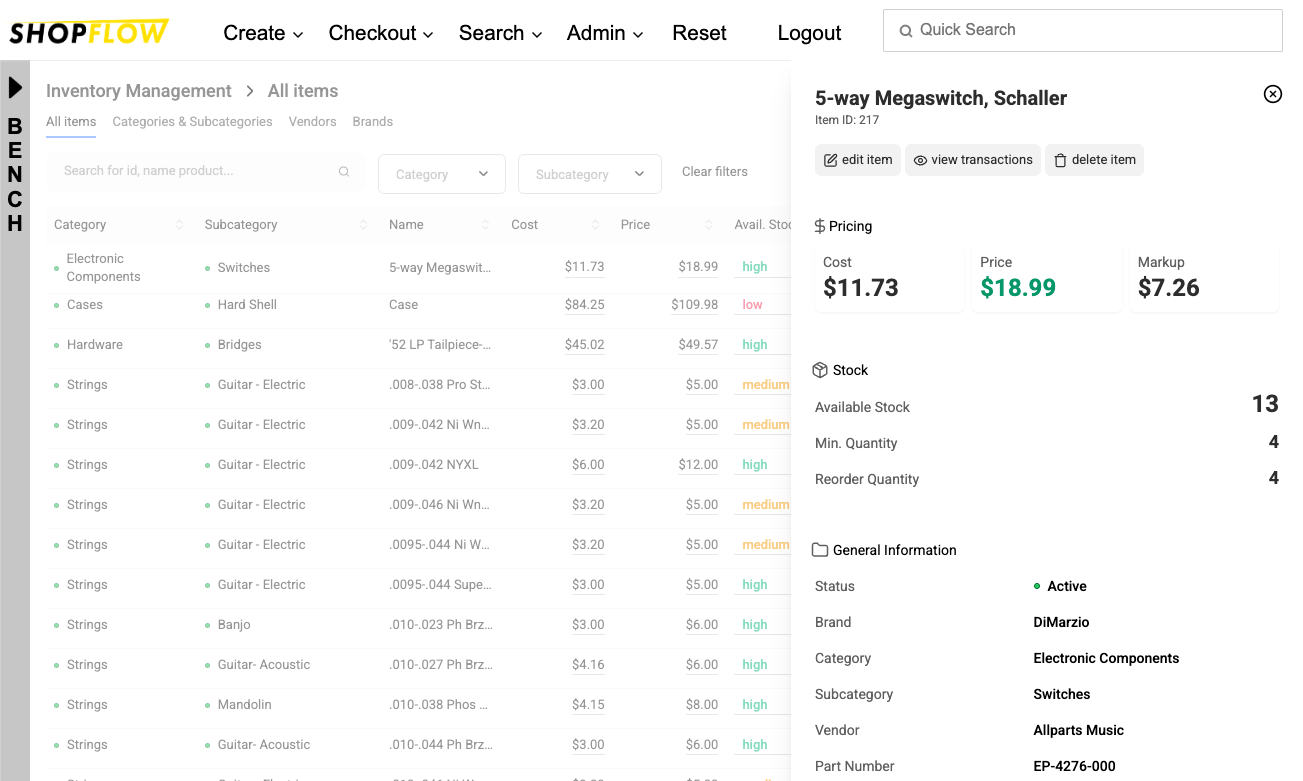
The item can be edited by choosing the “edit item” button.
How To: Review an Item’s History
An item’s history of changes - or transactions - from being added to the inventory to using on work orders to updating quantities, can be accessed from the item-details panel. Select the item, then click the “view transactions” button.
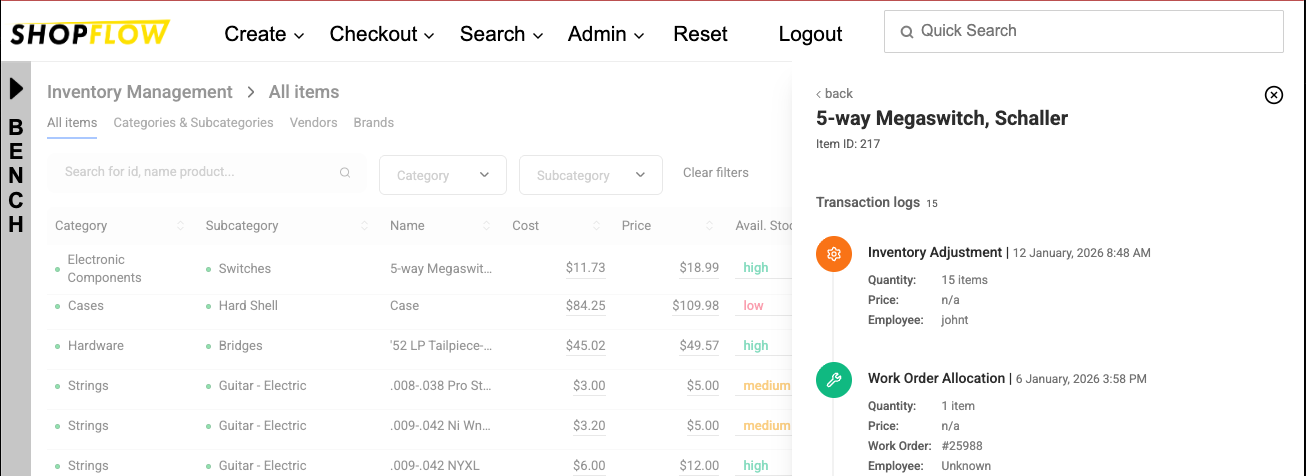
Note: Transactions cannot be edited; they can only be reviewed.
How To: Update Stock
When ordered inventory has been received, the details of the purchase should be entered in the Update Stock form. From the main inventory page, click the “Update Stock” button:
The Update Stock form will be displayed.
Choose the item from the Inventory Item dropdown. That will automatically update the current stock on hand quantity and the previous unit-purchase price.
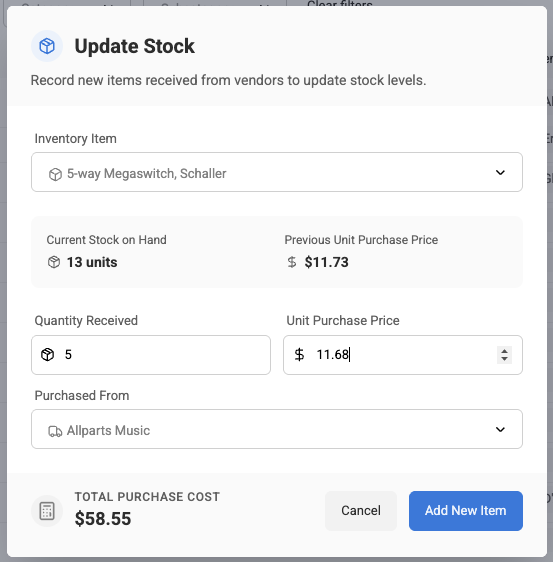
Then enter the quantity of items that was received, the per-unit purchase price, and then select the vendor in the Purchased From dropdown. Review the data and then click the “Add New Items” button.
How To: Adjust Available Stock, Cost, Price
The available stock for an item is the number of items in inventory minus the number of items allocated to work orders. If that value is known to be incorrect, it can be changed directly in the main inventory table.
Select the number on the row for the desired item and a popup will appear:

Change the value and click “save”. The image above is for the Available Stock value, but the same applies to the Cost and Price fields.
How To: View & Manage Categories and Subcategories
From the main inventory page, click the “Categories & Subcategories” submenu.
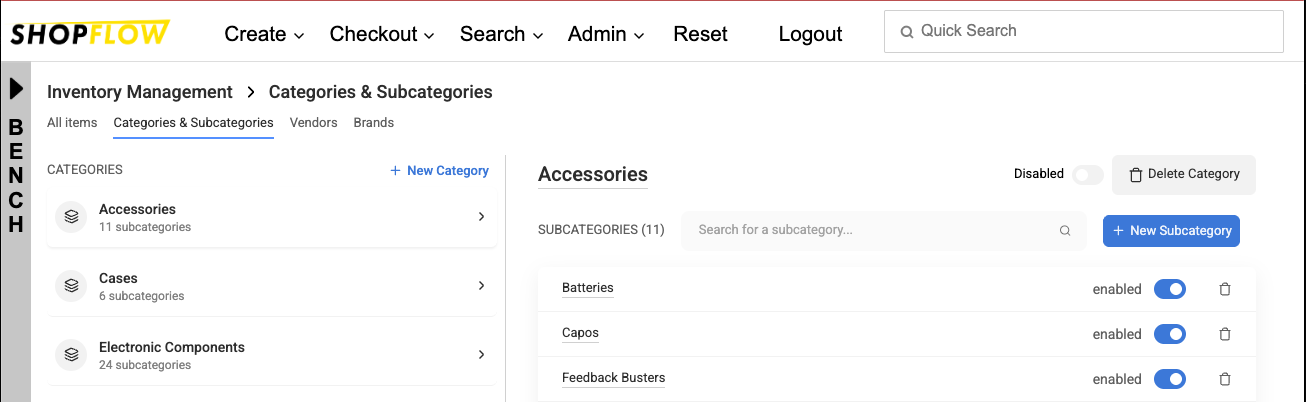
From here, categories can be added, edited, disabled, and deleted. The same is true for subcategories.
To edit an existing category, select it from the list under the CATEGORIES heading. The right side of the screen will update to show the selected category’s editing options and its subcategories (if it has any).
How To: View & Manage Vendors
From the main inventory page, click the “Vendors” submenu.
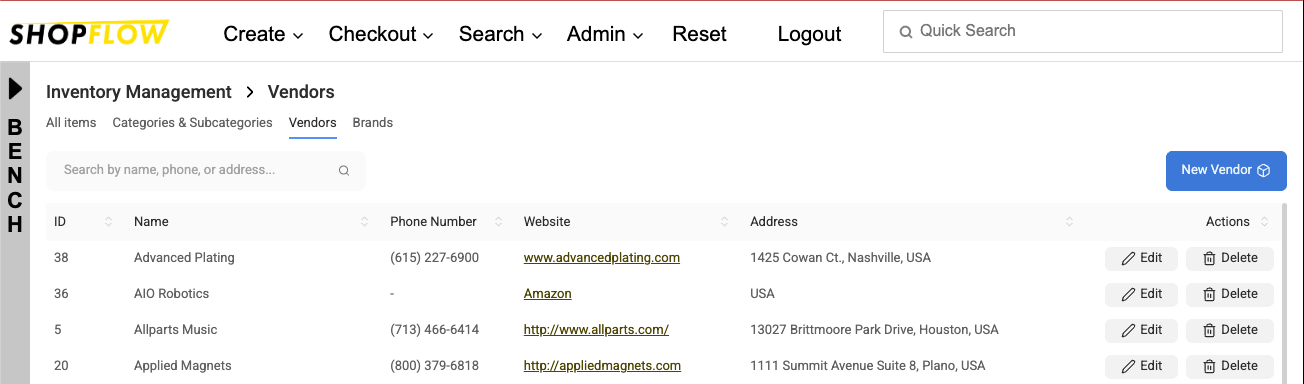
Vendors are shown alphabetically. The primary actions are shown for each vendor on the right side of the screen. Click the "edit" button to change vendor name, phone, and address. Use the "delete" function to remove a vendor from your Vendor list.
Select the “New Vendor” button to add a vendor.
How To: View & Manage Brands
From the main inventory page, click the “Brands” submenu.
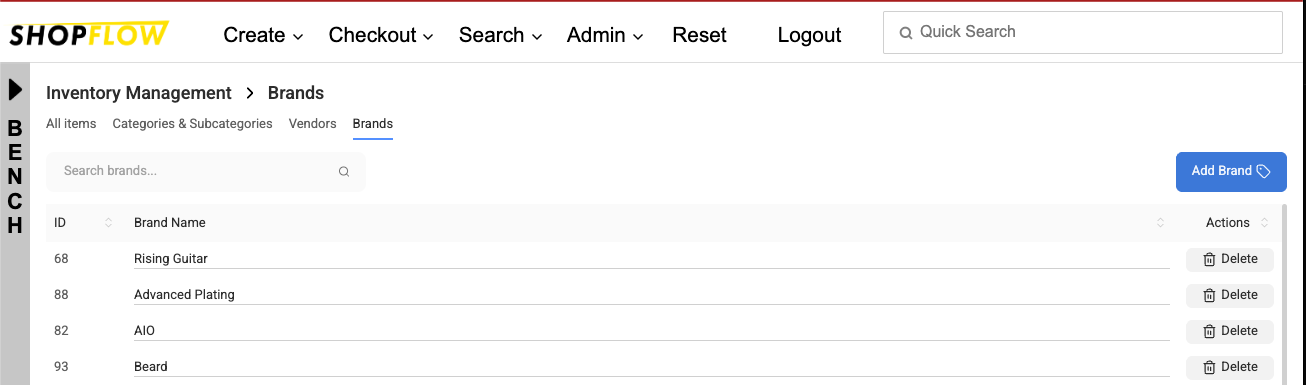
Brands are shown alphabetically. The primary actions are shown for each brand on the right side of the screen.
Select the “New Brand” button to add a brand.